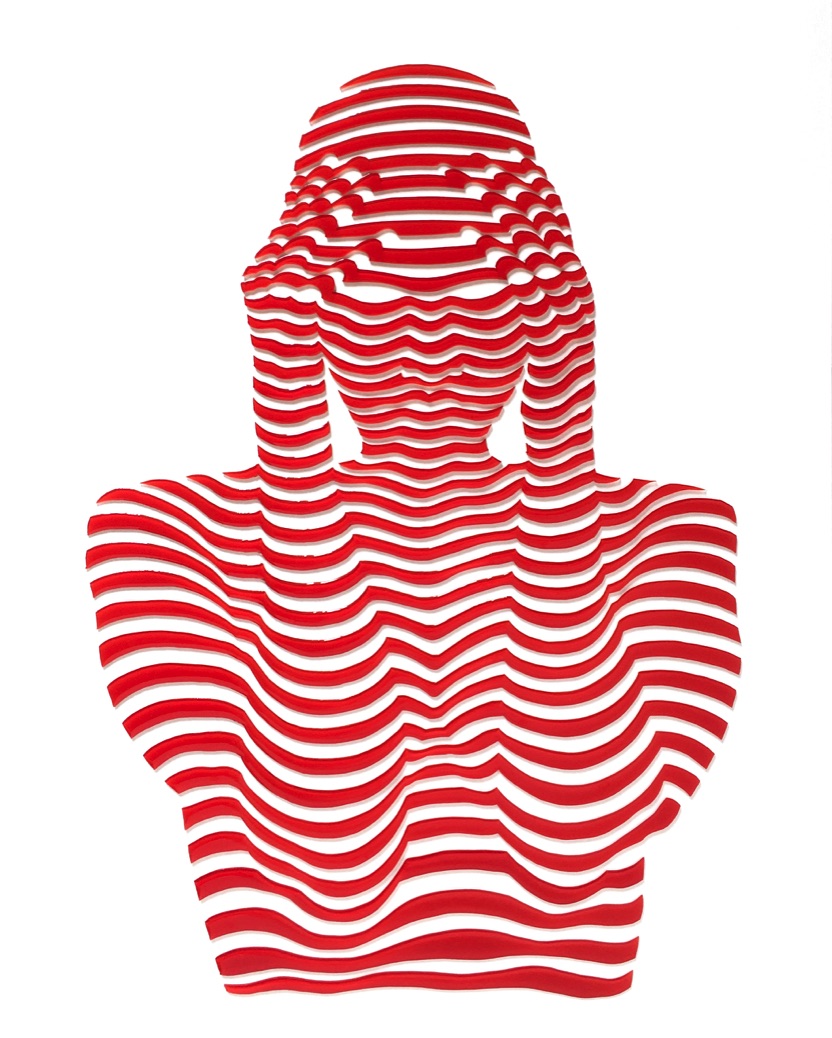
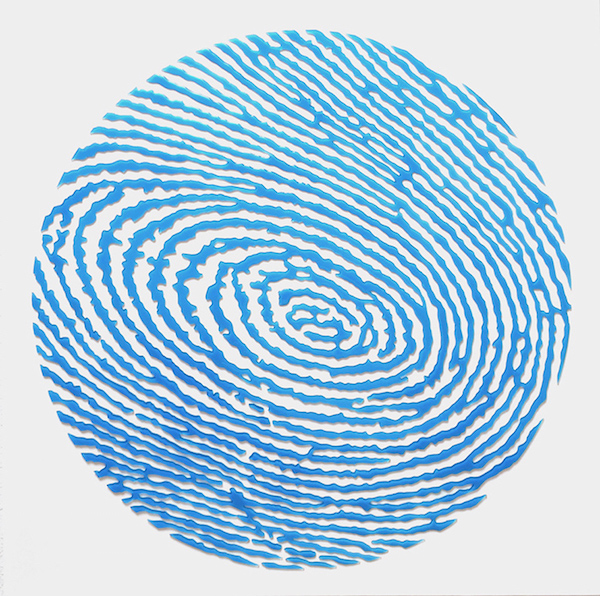
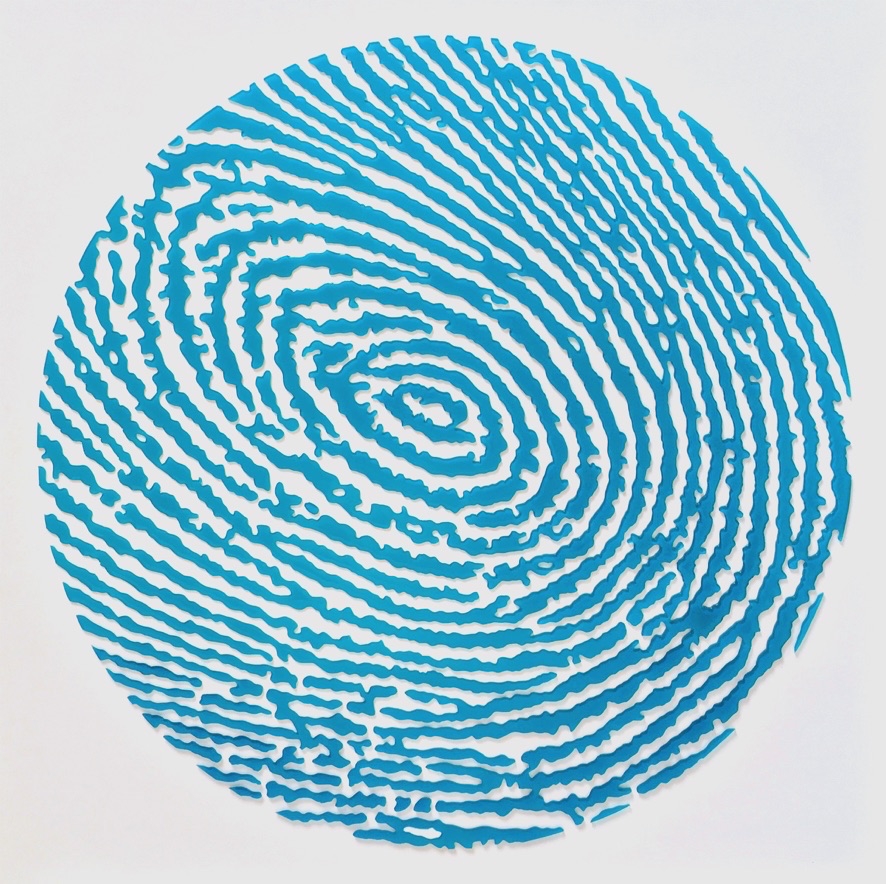
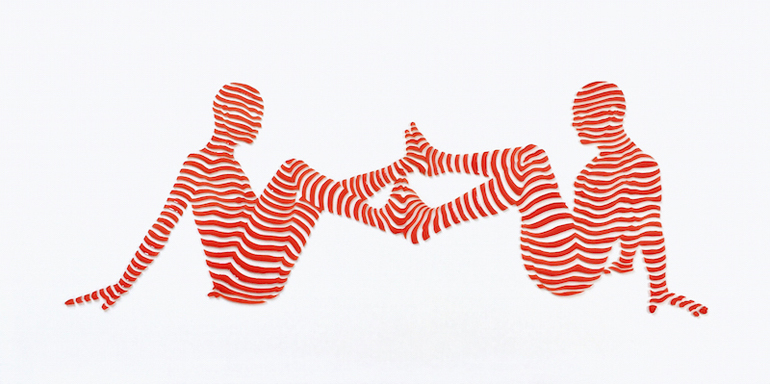
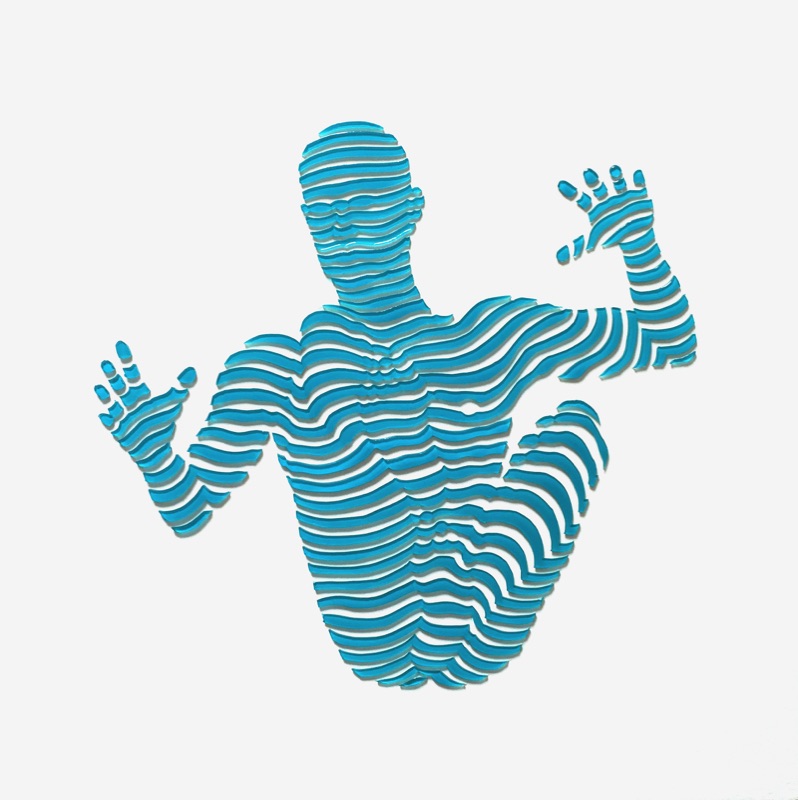
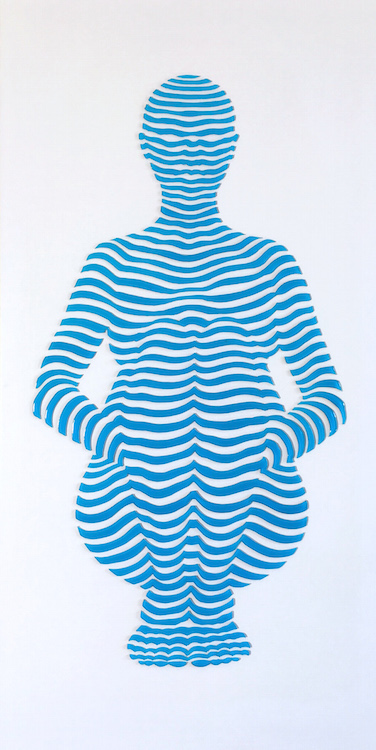
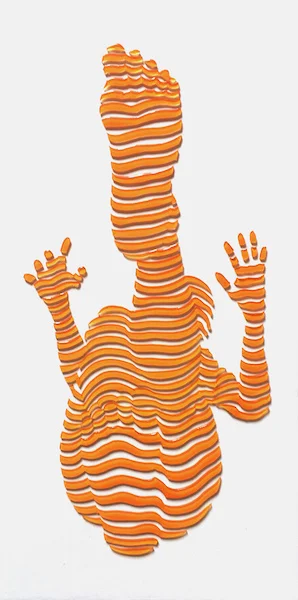
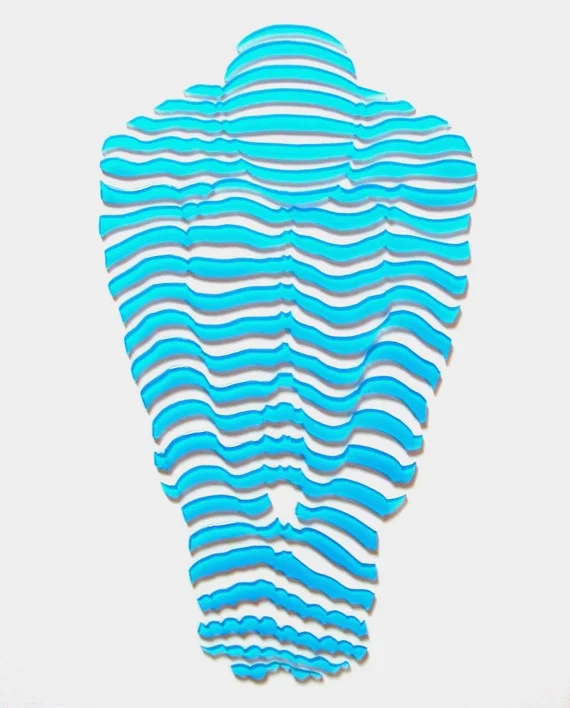
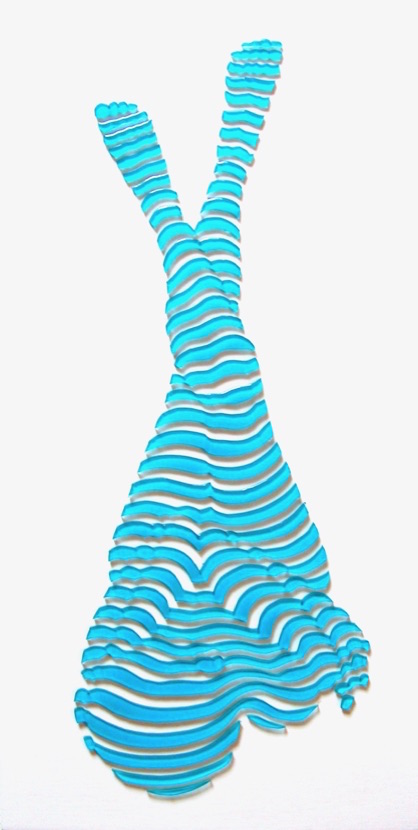
AROUND THE BODY 2015-16
All works are created with a cast of resin on a wood panel prepared with white enamel paint. The finished work is a relief of colored and translucent resin on the white surface
art works marked available or n/a. for pricing email : phijes@earthlink.net dm or call: 415 730 9813
View fullsize
Two to trace her. 20"x20"x1.5". n/a
View fullsize
Stripe Pose #13. 20"x16"x1.5". n/a
View fullsize
Three to trace her. 20"x20"x1.5". n/a
View fullsize
One to trace her. 20"x20"x1.5". available
View fullsize
Stripe Pose #9. 20"x16"x1.5". n/a
View fullsize
Four to trace her. 20"x20"x1.5". available
View fullsize
Stripe Pose Duo#2. 12"x24"x1". n/a
View fullsize
Stripe Pose #15. 12"x24"x1". available
View fullsize
Stripe Pose Duo#1. 12"x24"x1". n/a
View fullsize
Stripe Pose #11. 20"x24"x1.5". available
View fullsize
Stripe Pose #12. 18"x18"x1.5". n/a
View fullsize
Stripe Pose Study #32. 12"x16"x1.5". n/a
View fullsize
Stripe Pose Study #51. 12"x12"x1". n/a
View fullsize
Stripe Pose Study #41. 10"x12"x1.5". n/a
View fullsize
Stripe Pose Study #45. 12"x12"x1". n/a
View fullsize
Stripe Pose Study #50. 12"x12"x1". n/a
View fullsize
Stripe Pose Study #43. 16"x10"x1.5". n/a
View fullsize
Stripe Pose Study #40. 20"x10"x1.5". available
View fullsize
Stripe Pose Study #56. 12"x12"x1". n/a
View fullsize
Stripe Pose Study #47. 12"x9"x1". n/a
View fullsize
Stripe Pose Study #55. 14"x11"x1". available
View fullsize
Stripe Pose Study #46. 12"x6"x1.5". n/a
View fullsize
Stripe Pose Study #42. 10"x8"x1". n/a
View fullsize
Stripe Pose Study #54. 12"x6"x1.5". n/a
View fullsize
Stripe Pose Study #48. 6"x18"x1.5". n/a
View fullsize
Stripe Pose Study #53. 18"x6"x1.5". n/a
View fullsize
Stripe Pose Study #49. 10"x22"x1.5". available
View fullsize
Stripe Pose Study #57. 6"x18"x1.5". n/a
View fullsize
Stripe Pose Study #19. 10"x12"x1". n/a
View fullsize
Stripe Pose Study #25. 6"x12"x1.5". n/a
View fullsize
The Human Storm. 24"x48"x1.5". n/a
View fullsize
Stripe Pose Study #39. 12"x9"x1". n/a
View fullsize
Stripe Pose #14.Top available - Stripe Pose#10. Bottom. 12"x36"x1.5". n/a
View fullsize
Stripe Pose Study #34. 10"x8"x1". n/a
View fullsize
Stripe Pose Study #35. 18"x6"x1.5". n/a
View fullsize
Stripe Pose Study #30. 12"x6"x1.5". n/a
View fullsize
Stripe Pose Study #20. 9"x12"x1". n/a
View fullsize
Stripe Pose Study #31. 12"x6"x1.5". n/a
View fullsize
Stripe Pose Study #36. 8"x10"x1". n/a
View fullsize
Stripe Pose Study #38. 10"x8"x1". n/a